Create and deploy a simple React memorize game
Learn how to create and deploy a React memorize game from scratch in this step-by-step tutorial. Discover how to deploy the app on Netlify from Github.
Overview
React is a popular JavaScript library for building user interfaces and applications. If you're already familiar with React and its core concepts, you'll be able to follow along with this tutorial to create a simple React memorization game. However, if you're new to React or web development, it's recommended that you first gain a good understanding of JavaScript, HTML, and CSS before proceeding.
In this tutorial, we'll walk through the process of building a simple React memorize game from scratch. We'll start with creating the basic structure of the game using React components and styling them with CSS.
Once we've built the game, we'll explore how to serve the website using Netlify, a popular platform for hosting static websites and applications. It provides a free and simple out-of-the-box integration with GitHub. You'll learn how to configure your project for deployment, connect it to Netlify, and publish it online.
By the end of this tutorial, you'll have a good understanding of the process of building a React application from scratch and deploying it to a live server. The demo of the game could be found here. The code could be found in the GitHub repo.
If you don't want to miss similar articles and stay up to date on our latest content, subscribe to the newsletter 📩 and never miss an update!
So let's get started and create a simple React memorize game!

Create a project
We are going to use React and Vite for the purpose of the tutorial. It is a modern frontend tool to simplify the building of the app and provides a dev server out of the box. To generate the basic project we need to install vite first:
yarn global add viteAfter that, we are ready to initialize the project.
yarn create vite

success Installed "create-vite@4.1.0" with binaries:
      - create-vite
      - cva
✔ Project name: … memory-game
✔ Select a framework: › React
✔ Select a variant: › JavaScript
Here we should choose a name for the project (memory-game), a framework (React), and a variant (JavaScript). After the initialization of the project, we need to install dependencies from the project directory (memory-game):
yarnNow, we can run the development vite server to start building our application:
yarn dev

 VITE v4.1.2  ready in 279 ms

  ➜  Local:   http://localhost:5173/
  ➜  Network: use --host to expose
  ➜  press h to show help
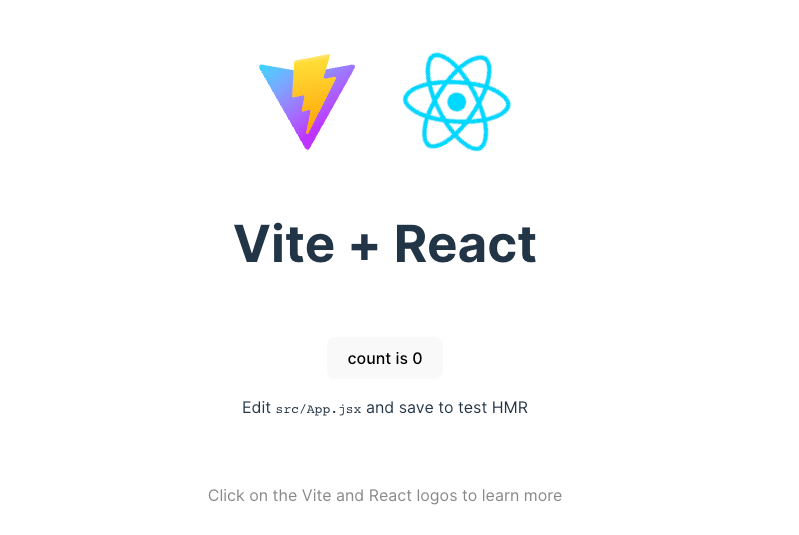
Our dev server is up and running and could be reached via browser at http://localhost:5173/:
Let's clean up some default components. Remove extra assets files, like public/vite.svg and assets/react.svg.
Now we ready to define the project components
Project structure
We are going to create the next components of the project:
App- the initial component, that manages the global state of the game, calculates the score and controls the field size and number of squares for memorization.Field- the component, that containswidth x heightcards, manages all the interactions with cards and a particular field instance. We are going to manage the internal state of the game for a current field inside this component.Card- the smallest component, which implements different types of cards based on props, and has a flipping animation.
We are going to store the style of the components in separate CSS files next to the code. The source directory (src) will look like this:
src/
|-- components/
|   |-- Card/
|   |   |-- index.css
|   |   `-- index.jsx
|   `-- Field/
|       |-- index.css
|       `-- index.jsx
|-- App.css
|-- App.jsx
`-- main.jsx
Let's create a game from the smallest component (Card) to the biggest one (App).
Create card component
The card component is based on props, which determines what card should be displayed. For example, we can display wrong clicked card, a card that should be clicked, the back side of any card, or just a neutral card that you should skip, when memorizing the cards. For this we use next props:
isFlipped- determines what side of the card display;isChecked- provides if the played checked the particular card or we only show it during the initial memorization interval;isWrong- if the card is clicked wrongly display the card in red color.
Based on that information we are going to use different styles to display the card. Other than that, we also need onClick function from the parent component to trigger that click event on the card. The final code looks like this:
import './index.css';

export default function Card({ isFlipped, isChecked, onClick, isWrong }) {
    return (
        <div className={`card ${isFlipped ? '' : 'card--flipped'}`} onClick={onClick}>
            <div className={
                `card__side card__side--front ${isWrong ? 'card__wrong' : isChecked ? 'card__checked' : 'card__not--checked'}`
            }
            />
            <div className="card__side card__side--back" />
        </div>
    );
}The styles for the card we are going to describe next to the Card.jsx file in the Card.css file:
.card__checked {
    background-color: #74f9d2;
}

.card__not--checked {
    background-color: #f2f1f1;
}

.card__wrong {
    background-color: #fb5858;
}

.card {
    display: inline-block;
    border: 1px solid #000000;
    border-radius: 10px;
    cursor: pointer;
    position: relative;
    padding: 0;
    margin: 5px;
    width: 20%;
    height: 100%;
    transition: transform 0.3s;
    transform-style: preserve-3d;
}

.card--flipped {
    transform: rotateY(180deg);
}

.card__side {
    position: absolute;
    width: 100%;
    height: 100%;
    border-radius: 9px;
    backface-visibility: hidden;
}

.card__side--front {
    z-index: 2;
}

.card__side--back {
    background-color: #8473bc;
    transform: rotateY(180deg);
}
Here we have basic card styling and a flip animation, that is implemented using transform: rotateY(180deg). When the card is clicked, we change the isFlipped property and thus add class card--flipped to the card, which makes the transformation and rotates the card to another side. To do that we use transform-style: preserve-3d, and 2 divs that represent different sides of the card. One of them points toward the front side of the card (card__side--front), and another one for the back side (card__side--back). The back side is rotated 180deg to be visible on an opposite (flipped) side.
Create field component
Let's build a field component for the game.
Field state management
The field component has different states:
fieldState- represents the current state of the particular game field. It has aStartstate when we only initialize the field and show it to the player,Playstate when the player can interact with the field and click cards to flip them, orWin/Loosestate, when the game is over and we provide control to the parent component (App);playerField- represent a 2-dimensional array with the actual state of the field. We are going to store here if each card is correct or wrong and if the card is flipped or was clicked;checkLeft- only used to calculate how many cards are left to be checked. To avoid recalculation the number of checks left we have this variable, which is decremented with each correct card flip.
The code for the component state:
const FieldStates = {
    START: "start",
    PLAY: "play",
    LOSE: "lose",
    WIN: "win",
}

const [fieldState, setFieldState] = useState(FieldStates.START);
const [playerField, setPlayerField] = useState([]);
const [checkLeft, setCheckLeft] = useState(cardsToMemorize);Generate random field
Before the actual game, we need to generate the random field:
// Generate random field with provided width, height and number of cards to memorize
function generateField(width, height, cardsToMemorize) {
    const field = Array.from({ length: height }, (_, row) =>
        Array.from({ length: width }, (_, column) => ({
            isChecked: false,
            isFlipped: false,
            x: row,
            y: column,
        }))
    );

    // Choose random cards on the field
    for (let i = 0; i < cardsToMemorize; i++) {
        const randomX = Math.floor(Math.random() * height);
        const randomY = Math.floor(Math.random() * width);

        if (field[randomX][randomY].isChecked) {
            i--;
            continue;
        }

        field[randomX][randomY].isChecked = true;
    }

    return field;
}Here we generate an empty field of a particular size and fill it with the provided number of cards (cardsToMemorize).
Note: We didn't make a check for cardsToMemorize value to be in [0;width*height] range, as we use it only for the particular game example. Better to do it, or avoid implementation of such infinite loop and use another implementation for random field filling.Field initialization
Now we can initialize the field:
// Generate field with cards to memorize on game start
useEffect(() => {
    const newField = generateField(width, height, cardsToMemorize);
    setPlayerField(newField);
}, []);We generate the random field and should display it to the user. We pass to useEffect a second parameter [] to invoke the effect only once on the component creation.
After a timeout (2 seconds for our game), we need to flip all the cards to the back parts and start the game:
// Show cards for MEMORY_TIMEOUT seconds and then hide them to start the game
useEffect(() => {
    const timer = setTimeout(() => {
        setFieldState(FieldStates.PLAY);
    }, MEMORY_TIMEOUT);

    return () => clearTimeout(timer);
}, []);Create a subcomponent to draw a field
To display the current state of the field we create a small subcomponent DisplayField:
function DisplayField({playerField, onCardClick, isFlipped}) {
    return playerField.map((field) => {
        return (
            <div className="field__row">
                {field.map((card) => {
                    return (
                        <Card
                            key={`${card.x}-${card.y}`}
                            isChecked={card.isChecked}
                            isFlipped={isFlipped ? true : card.isFlipped}
                            onClick={() => isFlipped ? null : onCardClick(card.x, card.y)}
                            isWrong={card.isWrong}
                        />
                    );
                })}
            </div>
        );
    })
}Depending on the isFlipped variable we are going to show by default either back side of the card (if false), or the front side of the card (if true). Other than that, we are going to display actual card, and if it was clicked wrong, set it as a wrong click and display with another color (red).
Field body code
Now we are ready to implement the Field component display:
<div>
    {
        fieldState === FieldStates.START ? <DisplayField playerField={fields} isFlipped={true}/>
            : fieldState === FieldStates.PLAY ? <DisplayField playerField={playerField} isFlipped={false} onCardClick={onCardClick}/>
                : fieldState === FieldStates.LOSE ? <DisplayField playerField={playerField} isFlipped={true}/>
                    : <DisplayField playerField={playerField} isFlipped={true}/>
    }
</div>It depends on the game state:
Start- we need to display to the user our generated random field as is to memorize;Play- we hide all the cards and the user can click on each of them to flip them;WinorLose- 2 states that represent the final state for the current field. We need to display the field as is with the wrong clicked card in case of loss.
Process card click
The last thing we should manage for the Field component card clicks:
// process card click
function onCardClick(x, y) {
    if (playerField[x][y].isFlipped) {
        return;
    }

    if (!fields[x][y].isChecked) {
        setPlayerField((playerField) => {
            const newPlayerField = [...playerField];
            newPlayerField[x][y].isFlipped = true;
            newPlayerField[x][y].isWrong = true;

            return newPlayerField;
        })

        setFieldState(FieldStates.LOSE);
        onLose();
        return;
    }

    setPlayerField((playerField) => {
        const newPlayerField = [...playerField];
        newPlayerField[x][y].isFlipped = true;

        return newPlayerField;
    })

    setCheckLeft((checkLeft) => {
        if (checkLeft === 1) {
            onWin();
            setFieldState(FieldStates.WIN);
        }

        return checkLeft - 1;
    });
}Here we check if the card is flipped, so as not to flip the same card multiple times. After that, we need to validate if the card is the correct one. In case of a wrong choice, we should stop that game and mark the card as wrongly clicked. Otherwise, flip the card and check if we have any other card that should be clicked. If there are no cards left, the player wins on the current field and can continue the global game with another more complex field.
Field style
For styling we are going to use only one class to center the field row on the screen:
.field__row {
    margin: auto auto 10px;
    display: flex;
    flex-direction: row;
    justify-content: center;
    align-items: center;
    height: 100px;
    width: 100%;
    max-width: 500px;
    list-style: none;
}Create app component
The app component controls the global game state. It creates the field each time the player wants to play and increases the difficulty with each successful field.
Manage game state
To control the game, we need states:
gameState- represents the state of the global game.STARTstate is an initial one when the player hasn't started the game. When it starts the game, it will transfer into thePLAYstate. As the game is infinite, we don't need an intermediate state between different fields and it is represented as aWINstate. If the player fails the memorization process and clicks the wrong card, we stop the global game and set the game finished, as aLOSEstate;widthandheight- represents dimensions of the current field to be created;cardsToMemorize- cards to memorize in the current round;score- number of scores, that player got during the game; we simply calculate the number of correct cards on fields where the player won, but can be used any other way of calculation;key- to change the childFieldcomponent we are going to store thekeyfor the component to control the creation of a new component between different rounds.
So the code for the state of the App is:
const GameStates = {
    START: "start",
    PLAY: "play",
    WIN: "win",
    LOSE: "lose",
}

const [gameState, setGameState] = useState(GameStates.START);
const [width, setWidth] = useState(3);
const [height, setHeight] = useState(3);
const [cardsToMemorize, setCardsToMemorize] = useState(3);
const [score, setScore] = useState(0);
const [key, setKey] = useState(0);Change the state of the game
To start a new game we need to initialize the game state:
const startGame = () => {
  setWidth(3);
  setHeight(3);
  setCardsToMemorize(3);
  setScore(0);
  // if the user failed on the first iteration, we need to change the key to recreate the field
  setKey(key > 0 ? 0 : 1);
  setGameState(GameStates.PLAY)
}
The player can lose a particular field or win. For this we need to create handlers to pass them into the field component to manage those events:
const onLose = () => {
  setGameState(GameStates.LOSE)
}

const onWin = () => {
  setScore(score + cardsToMemorize);

  setGameState(GameStates.WIN);
}
Next game level
When the player clicks the Next button between the games, we need to increase the difficulty and recreate the field:
const nextLevel = () => {
  setGameState(GameStates.PLAY);

  if (cardsToMemorize > width * height / 3) {
    setWidth(width + 1);
    setHeight(height + 1);
  }

  setCardsToMemorize(cardsToMemorize + 1);
  setKey(key + 1);
}
To recreate the field, we increment the key value, that triggers the Field component recreation.
To increase difficulty, we use simple logic of incrementing cards to memorize and if the number of such cards is more, than 1/3 of all cards, we increase the field size by 1 for each side.
Deploy the website on Netlify
Now we are ready to deploy the web service publically using Netlify.
First, we need to create an account on Netlify. The most convenient thing is going to authenticate using GitHub, as we are going to deploy the website using GitHub integration, which Netlify has out-of-box. Now we need to upload our project on GitHub. For that, we need to create a repo and commit changes.
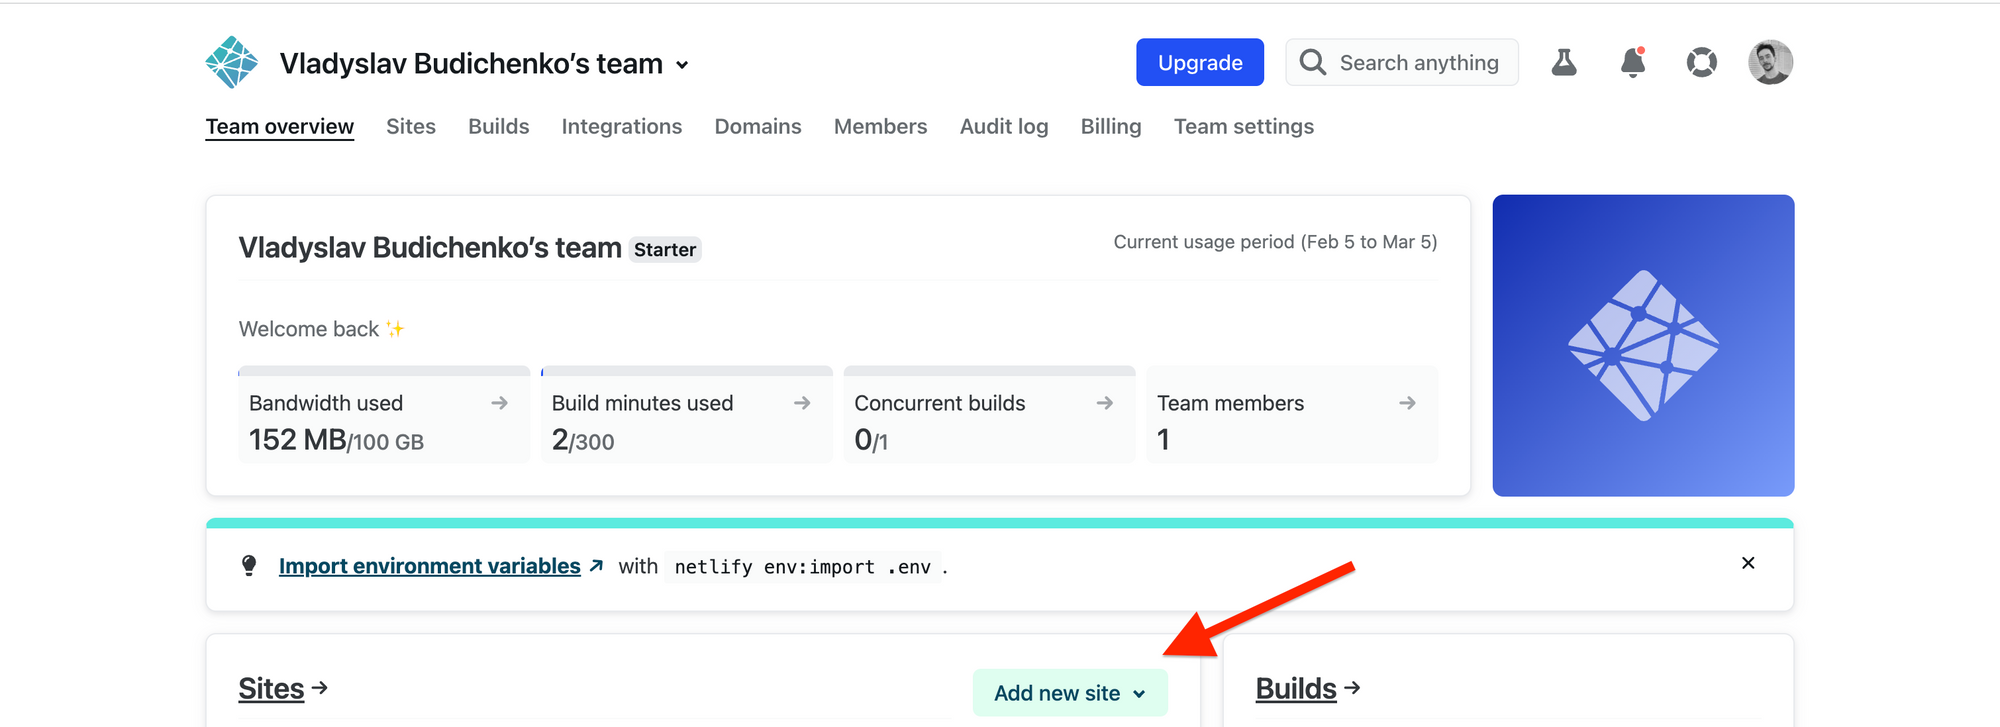
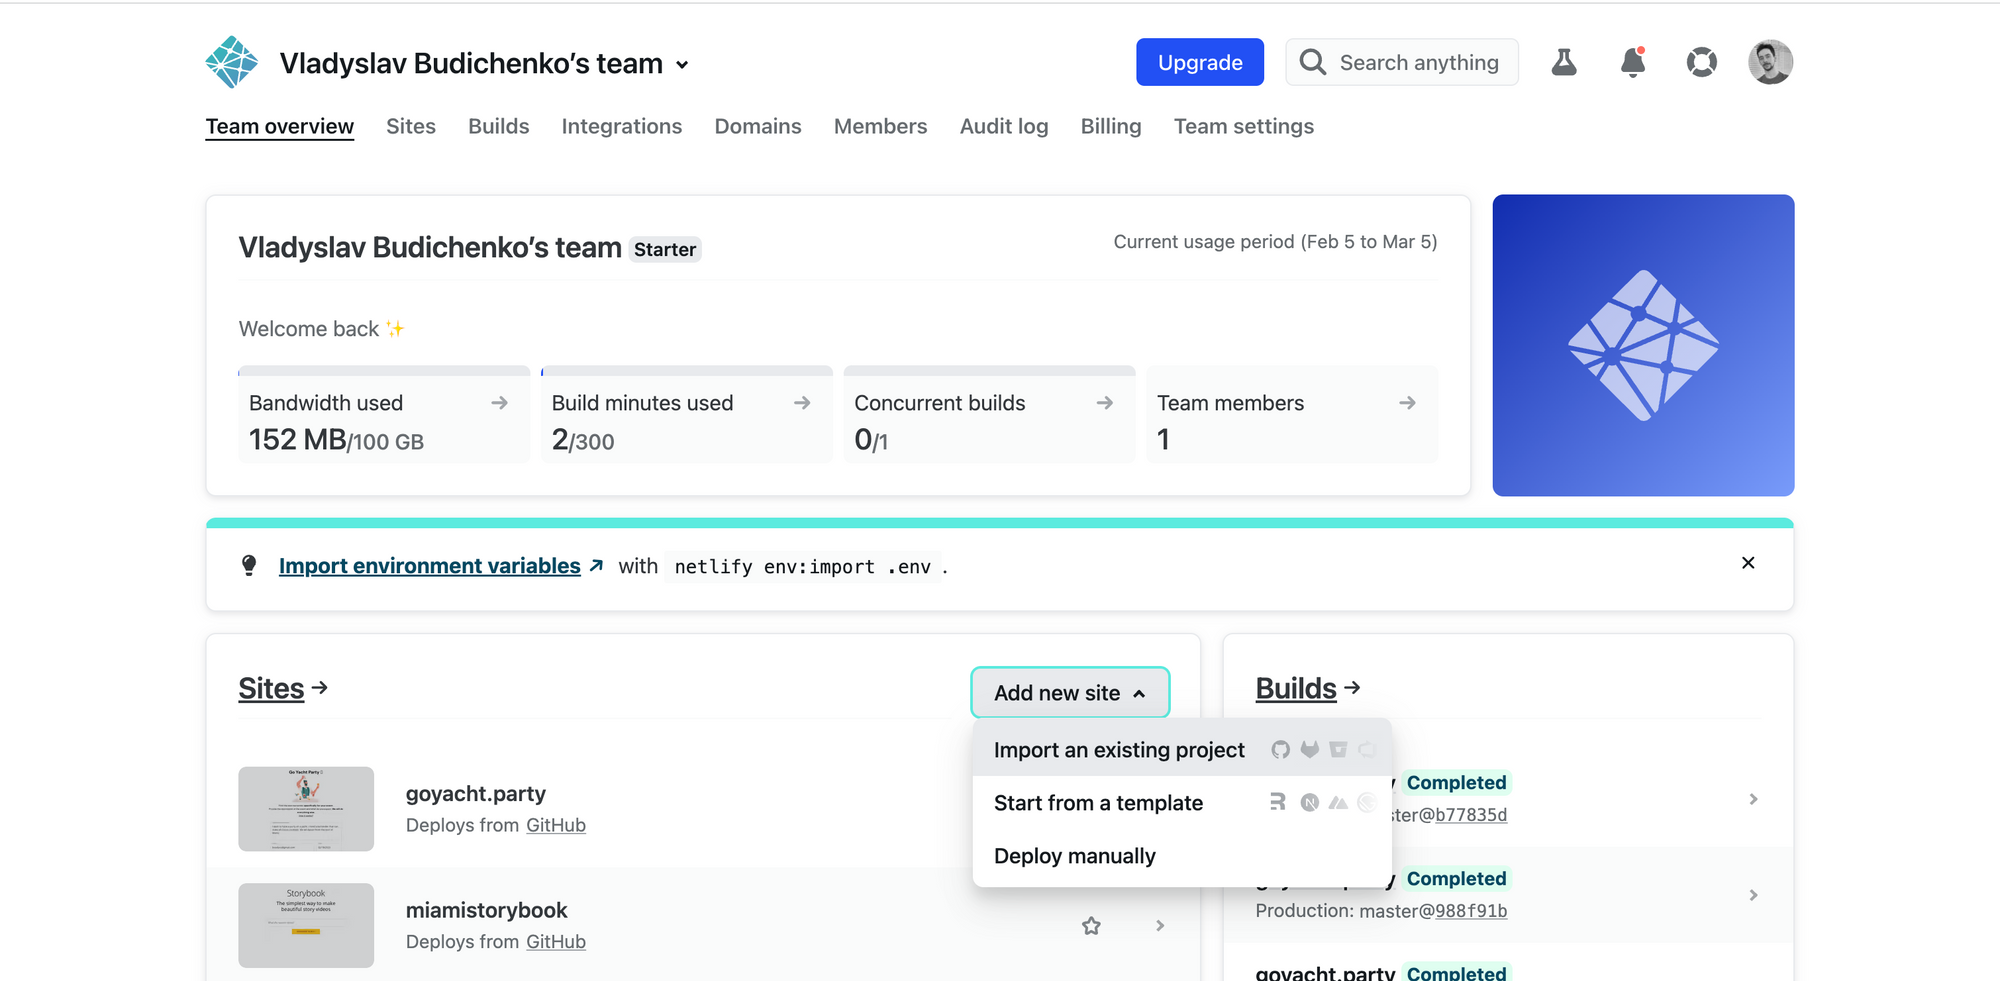
After the creation of the account, we can add a new site using Add new site -> Import an existing project using Netlify app main page:
Now we are in Github and need to provide an access to Netlify for the created repository. For that, we need to Configure the Netlify app on GitHub:

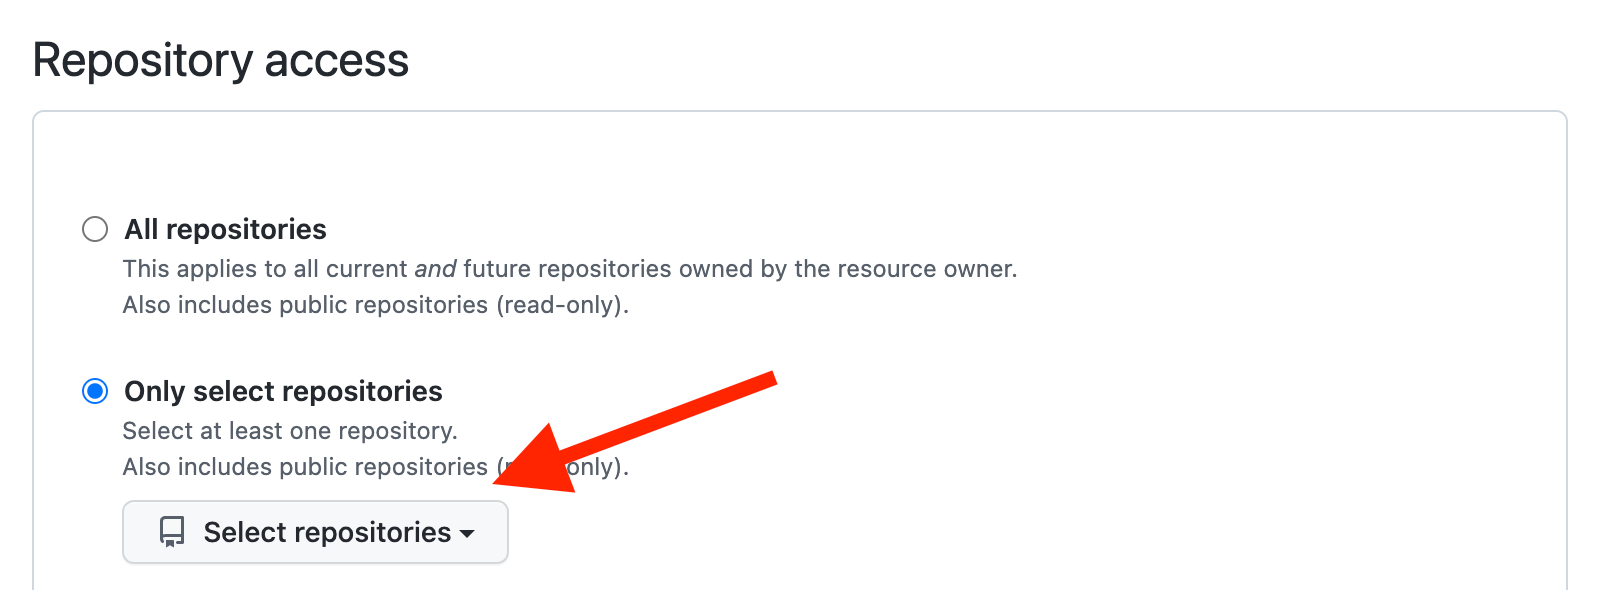
And provide access in Repository access section for the repository we created before:
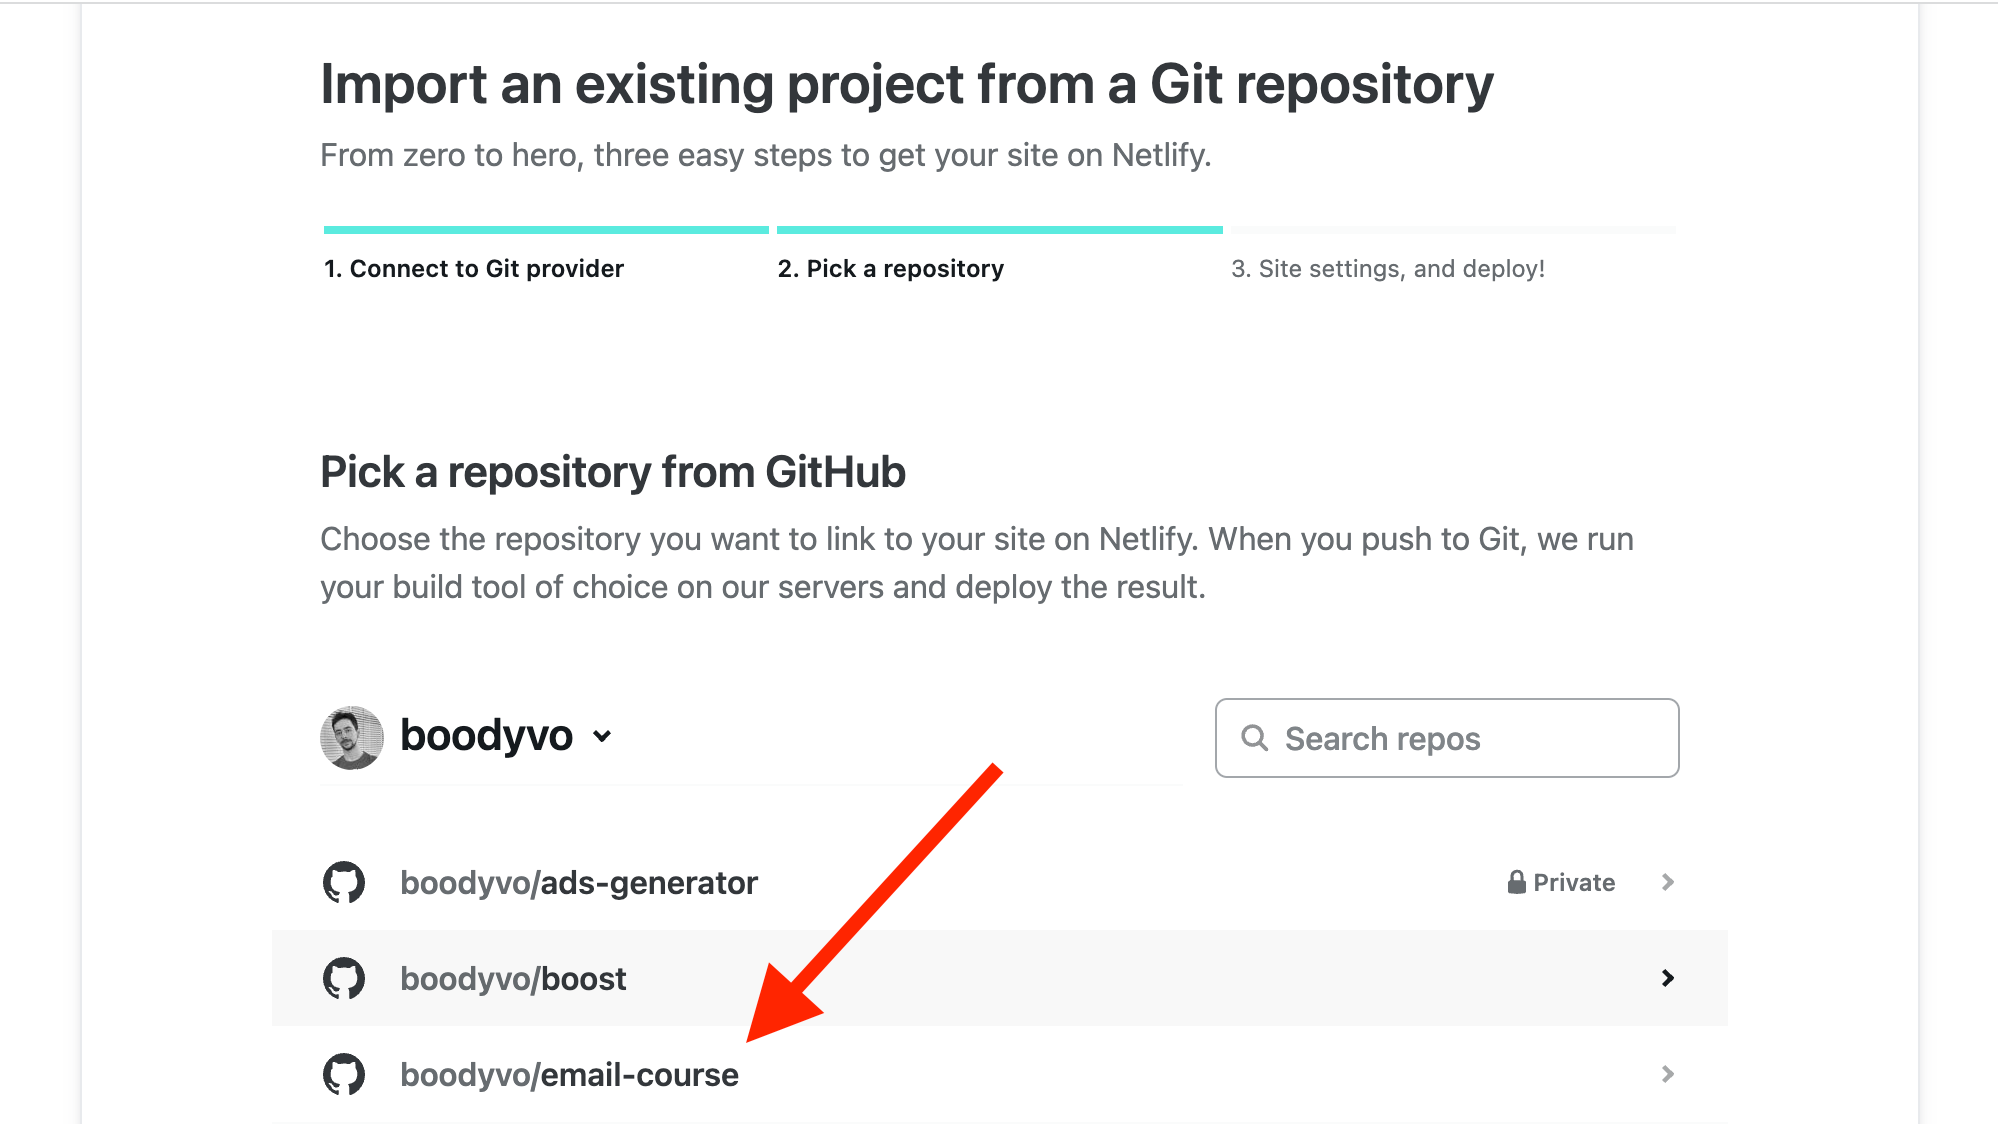
Now we can add the site to Netlify. For this, we should select it, when choosing the site to deploy in Import an existing project from a Git repository section:
The final step before deploying is to provide a building bath and command. As we created the project as in the root of the repository we should leave the fields blank.
gooNote: For the course repository itself, it's not true, so we need to provide a project directory here, particularly set Base directory: 1-memory-gameThat's it. Now we see our site in the list of sites and see the deployment progress in builds.

Netlify will automatically assign to our website a random DNS, which looks like <random_id>.netlify.app. We can change the <random_id> into a globally unique name. For the tutorial, we changed it to thedevbook-memory-game. After the deployment is complete we can click on our website to go and check it live:

Conclusion
In conclusion, building a simple React memorization game is a fun and practical way to apply your React skills and knowledge. Throughout this tutorial, we've walked through the steps of creating a React game from scratch, starting with the basic structure of the game using React components and styling them with CSS. We then explored how to deploy the game using Netlify, a popular platform for hosting static websites and applications.
By following this tutorial, you should have an understanding of how to build a simple React application and deploy it to a live server using Netlify. With these skills, you can start building more complex React applications and deploying them online.
Remember, practice makes perfect, so keep experimenting with different features and ideas to improve your engineering skills. You can find the code for this game on our GitHub repository, so don't hesitate to use it as a reference for your future projects.
If you haven't subscribed yet, you can do that to not miss future articles:
Happy coding 💻